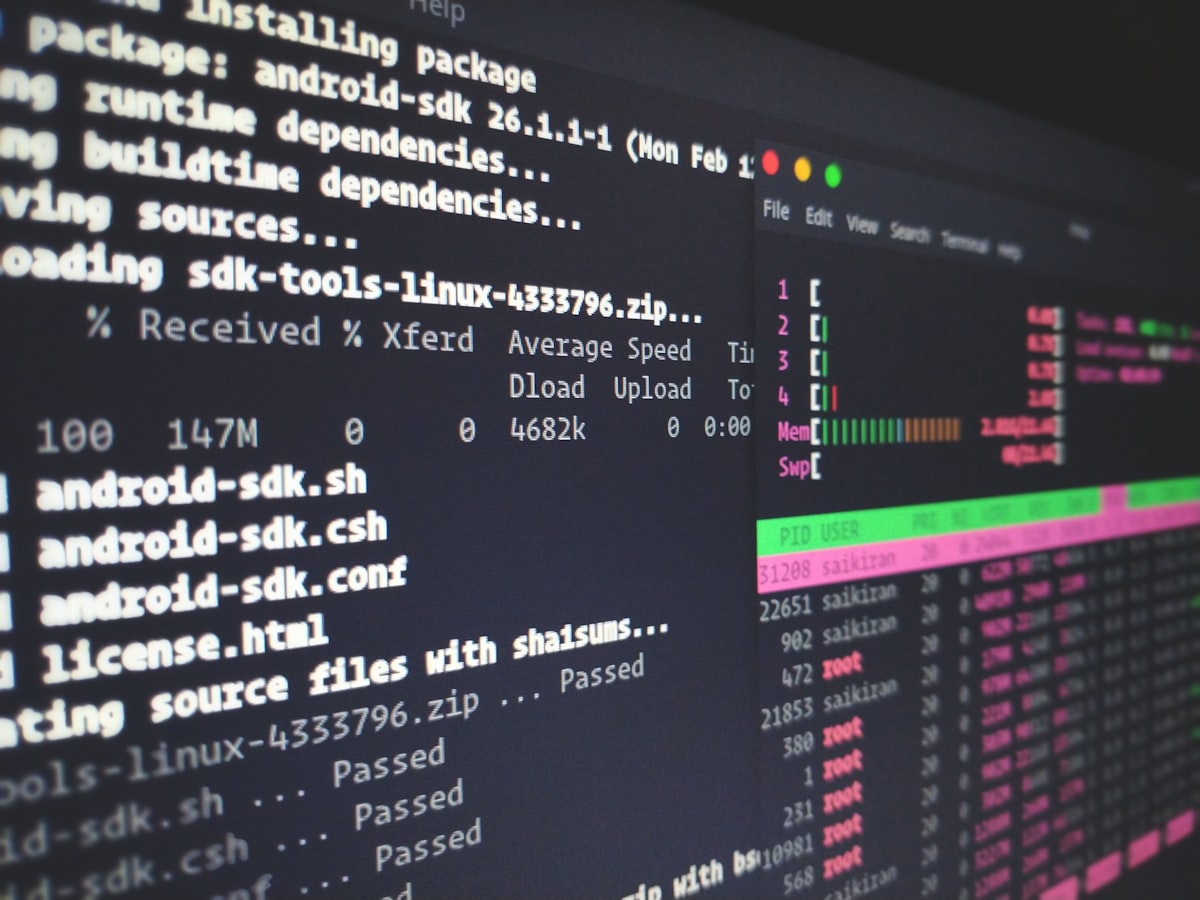
จัดการ Service บน VPS ด้วย systemd: start, enable, logs
systemd คือ init system และ service manager ที่ใช้บน Linux ทุก distro สมัยใหม่ ตั้งแต่ Ubuntu, Debian ไปจนถึง AlmaLinux และ Rocky Linux คำสั่ง systemctl ช่วยให้คุณเปิด ปิด restart และ monitor service ต่างๆ บน VPS ได้อย่างมีระบบ รวมถึงสร้าง custom service ของตัวเองเพื่อรัน Script หรือ Application ให้ start อัตโนมัติหลัง reboot
คำสั่ง systemctl พื้นฐาน
# เปิด Service
systemctl start nginx

# หยุด Service
systemctl stop nginx

# Restart (หยุดแล้วเปิดใหม่)
systemctl restart nginx

# Reload (โหลด config ใหม่โดยไม่ kill process — ถ้า service รองรับ)
systemctl reload nginx

# ตั้งให้ start อัตโนมัติหลัง reboot
systemctl enable nginx

# ยกเลิก auto-start
systemctl disable nginx

# ดูสถานะ (active/inactive/failed)
systemctl status nginx
ดูรายการ Service ทั้งหมด
# Service ทั้งหมดในระบบ
systemctl list-units --type=service

# เฉพาะที่กำลัง active
systemctl list-units --type=service --state=active

# เฉพาะที่ failed
systemctl list-units --type=service --state=failed

# ดู Service ที่ enabled (จะ start หลัง reboot)
systemctl list-unit-files --type=service --state=enabled
ดู Logs ด้วย journalctl
systemd เก็บ log ของทุก service ในระบบ journal ซึ่งดูได้ผ่าน journalctl:
# ดู log ทั้งหมดของ service
journalctl -u nginx

# ดู log แบบ real-time (เหมือน tail -f)
journalctl -u nginx -f

# ดูเฉพาะ 100 บรรทัดล่าสุด
journalctl -u nginx -n 100

# ดู log ตั้งแต่ reboot ครั้งล่าสุด
journalctl -u nginx -b

# ดู log ช่วงเวลาที่กำหนด
journalctl -u nginx --since "2026-06-01 10:00:00" --until "2026-06-01 12:00:00"

# ดู log ระดับ error ขึ้นไปเท่านั้น
journalctl -u nginx -p err

# ดู log ทุก service พร้อมกัน (boot log)
journalctl -b
สร้าง Custom Service Unit
ถ้าต้องการให้ Application หรือ Script ของคุณทำงานเป็น service และ start อัตโนมัติ ให้สร้างไฟล์ unit:
ตัวอย่าง: รัน Node.js App เป็น systemd Service
# สร้างไฟล์ unit
nano /etc/systemd/system/myapp.service
[Unit]
Description=My Node.js Application
After=network.target
[Service]
Type=simple
User=www-data
WorkingDirectory=/var/www/myapp
ExecStart=/usr/bin/node /var/www/myapp/server.js
Restart=always
RestartSec=5
StandardOutput=journal
StandardError=journal
Environment=NODE_ENV=production
Environment=PORT=3000
[Install]
WantedBy=multi-user.target# โหลด unit file ใหม่
systemctl daemon-reload
# เปิดใช้และ start
systemctl enable myapp
systemctl start myapp
# ตรวจสอบ
systemctl status myappตัวอย่าง: รัน Python Script เป็น Background Service
[Unit]
Description=My Python Worker
After=network.target mysql.service
Requires=mysql.service

[Service]
Type=simple
User=worker
WorkingDirectory=/opt/worker
ExecStart=/opt/worker/venv/bin/python /opt/worker/main.py
Restart=on-failure
RestartSec=10
StartLimitInterval=60
StartLimitBurst=3

[Install]
WantedBy=multi-user.targetalways = restart ทุกกรณี (รวมหยุดปกติ), on-failure = restart เฉพาะ crash, on-abnormal = restart เมื่อ exit code ไม่ใช่ 0 หรือ killed by signal
ตั้งค่า Resource Limits ใน Service
systemd รองรับการจำกัด Resource ของแต่ละ Service โดยตรง ไม่ต้องพึ่ง ulimit หรือ cgroups แยก:
[Service]
; จำกัด CPU ใช้ไม่เกิน 50% ของ 1 Core
CPUQuota=50%

; จำกัด RAM
MemoryLimit=512M

; จำกัด disk I/O
IOWeight=50

; จำกัด process ที่สร้างได้
LimitNPROC=100

; จำกัด file descriptors
LimitNOFILE=65536
Override ค่า Service ที่มีอยู่แล้ว (systemctl edit)
แทนที่จะแก้ไฟล์ unit ต้นฉบับโดยตรง (ซึ่งจะถูกทับเมื่ออัปเดต) ควรใช้ systemctl edit เพื่อสร้าง override:
# เปิด override editor
systemctl edit nginx

# ระบบจะสร้าง /etc/systemd/system/nginx.service.d/override.conf
# เพิ่มค่าที่ต้องการ override เช่น:
[Service]
LimitNOFILE=65536
Environment=NGINX_WORKER=4
Systemd Timer แทน Cron
systemd Timer เป็นทางเลือกของ cron ที่ log ครบกว่า retry ได้ และ integrate กับ journal:
# สร้าง /etc/systemd/system/backup.service
[Unit]
Description=Daily Database Backup

[Service]
Type=oneshot
ExecStart=/usr/local/bin/backup-db.sh

# สร้าง /etc/systemd/system/backup.timer
[Unit]
Description=Run backup daily at 2am

[Timer]
OnCalendar=daily
OnCalendar=*-*-* 02:00:00
Persistent=true

[Install]
WantedBy=timers.target

# เปิดใช้
systemctl enable backup.timer
systemctl start backup.timer

# ดู Timer ทั้งหมด
systemctl list-timers
แก้ปัญหา Service ที่ Failed
# ดูสาเหตุที่ fail
systemctl status myapp
journalctl -u myapp -n 50

# ถ้า service ถูก block เพราะ Start limit เกิน
systemctl reset-failed myapp
systemctl start myapp

# ดู dependency ของ service
systemctl list-dependencies nginx

# ตรวจสอบ syntax ของ unit file
systemd-analyze verify /etc/systemd/system/myapp.service
การเข้าใจ systemd ช่วยให้คุณจัดการ VPS ได้อย่างเป็นระบบ ไม่ว่าจะเป็นการดู log, ตั้ง auto-restart หรือสร้าง service ใหม่สำหรับ Application ของตัวเอง เมื่อใช้ร่วมกับ journalctl และ systemd timer คุณสามารถทดแทน cron และ log management แบบเดิมได้ทั้งหมดบนเครื่องเดียว
ตรวจสอบว่า Service ทำงานถูกต้อง
# ตรวจสอบสถานะ service
systemctl status myapp

# ดู log ล่าสุด
journalctl -u myapp -n 30

# ทดสอบ unit file syntax
systemd-analyze verify /etc/systemd/system/myapp.service

# ดู service ที่ failed ทั้งหมด
systemctl list-units --type=service --state=failed

# ตรวจสอบว่า service จะ start หลัง reboot
systemctl is-enabled myappsystemctl status myapp ดู 10 บรรทัด log ล่าสุด + active/inactive status ในคำสั่งเดียว เหมาะสำหรับ quick check ก่อนใช้ journalctl ดูรายละเอียดเพิ่ม
แก้ปัญหาที่พบบ่อย
Error: "Failed to start service" — service ไม่ start
ดู log เพื่อหาสาเหตุจริง error message ใน systemctl status อาจสั้นเกินไป:
# ดู log ละเอียด
journalctl -u myapp -n 50 --no-pager

# ดู exit code
systemctl status myapp | grep "Main PID\|Exit code"

# ตรวจสอบ path ทุกอย่างใน ExecStart
which node   # ตรวจสอบ binary path จริง
ls /var/www/myapp/server.js   # ตรวจสอบ script มีอยู่จริง
Error: "Too many start requests for unit" — start limit exceeded
Service crash และ restart เร็วเกินไปจน hit start limit ของ systemd:
# Reset failed counter
systemctl reset-failed myapp

# แก้ที่ root cause ก่อน start ใหม่
journalctl -u myapp -n 100 | grep -i "error\|fatal\|exception"

# เพิ่ม StartLimitInterval ใน unit file ถ้าต้องการ
[Service]
StartLimitInterval=120
StartLimitBurst=5
Error: Unit file เปลี่ยนแล้วแต่ systemctl ยังใช้ config เก่า
ต้อง daemon-reload ทุกครั้งที่แก้ unit file:
# จำเป็นทุกครั้ง!
systemctl daemon-reload

# แล้ว restart service
systemctl restart myapp
Error: Service ทำงานแต่ไม่เริ่มหลัง reboot
enable และ start เป็นคนละคำสั่ง — start เปิดตอนนี้ enable ทำให้ start หลัง reboot:
# ตรวจสอบว่า enabled
systemctl is-enabled myapp
# ต้องตอบ: enabled

# ถ้า disabled ให้ enable
systemctl enable myapp

# enable + start พร้อมกัน
systemctl enable --now myapp
Error: Service restart วนซ้ำ กิน CPU สูง
Application crash loop ทำให้ restart ไม่หยุด ใช้ RestartSec เพิ่ม delay หรือ on-failure แทน always:
[Service]
Restart=on-failure      # restart เฉพาะเมื่อ crash (ไม่ restart เมื่อ stop ปกติ)
RestartSec=10           # รอ 10 วินาทีก่อน restart
StartLimitBurst=3       # restart ได้สูงสุด 3 ครั้ง
StartLimitInterval=60   # ในช่วง 60 วินาที
คำถามที่พบบ่อย
systemd timer ดีกว่า cron อย่างไร?
systemd timer มี log ทุก run ผ่าน journalctl ตั้ง dependency กับ service อื่นได้ (รอให้ network พร้อมก่อน), retry ได้เมื่อ server ปิดระหว่างที่ timer ควรทำงาน (Persistent=true) และเห็นสถานะใน systemctl list-timers ส่วน cron ง่ายกว่าและคุ้นเคยมากกว่า — เลือกตาม use case
ใช้ Environment= ใน unit file ปลอดภัยไหม? secret จะหลุดไหม?
Environment= ใน unit file ปลอดภัยสำหรับค่าทั่วไป แต่ secret เช่น API key หรือ password ควรใช้ EnvironmentFile= ชี้ไปที่ไฟล์ที่มี permission 600 เช่น EnvironmentFile=/etc/myapp/secrets.env เพื่อไม่ให้ค่า secret ปรากฏใน systemctl show myapp
จะดู log ของ service ตั้งแต่ 3 วันที่แล้วได้อย่างไร?
journalctl รองรับ --since และ --until ด้วย format ที่ยืดหยุ่น: journalctl -u myapp --since "3 days ago" หรือ journalctl -u myapp --since "2026-06-06 00:00:00" ข้อมูล log จะอยู่จนกว่า journal storage จะเต็ม ตรวจสอบขนาดด้วย journalctl --disk-usage